RV Trailer Decking
2018/06/17 08:00 Filed in: RV Trailer | Welding
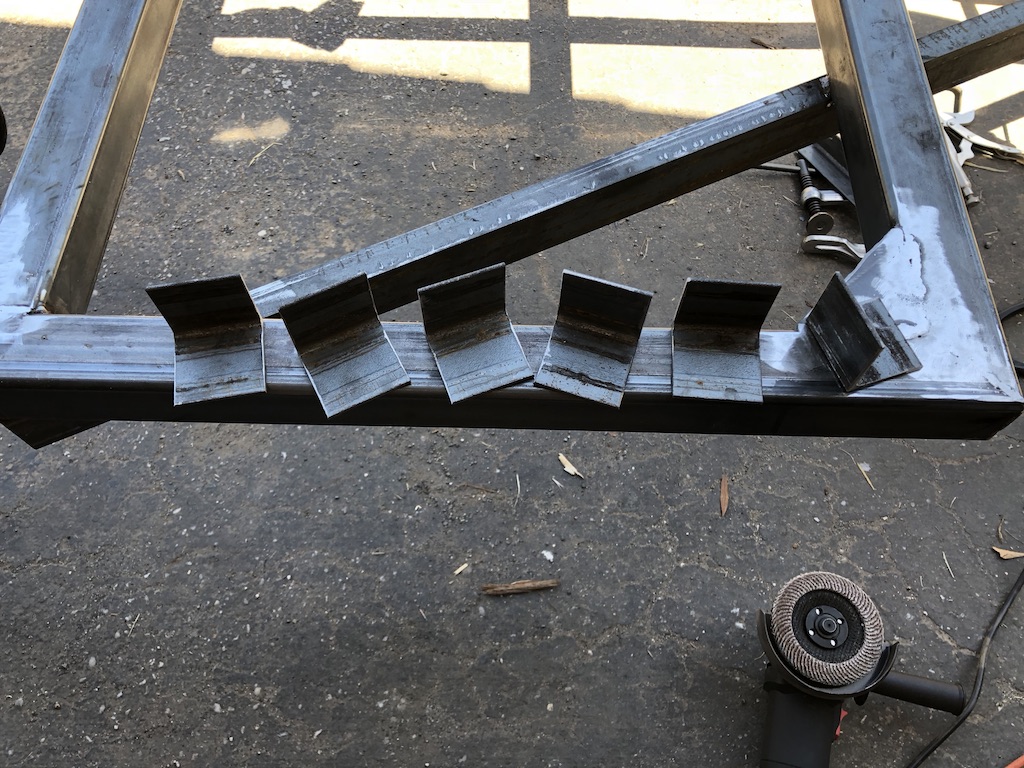
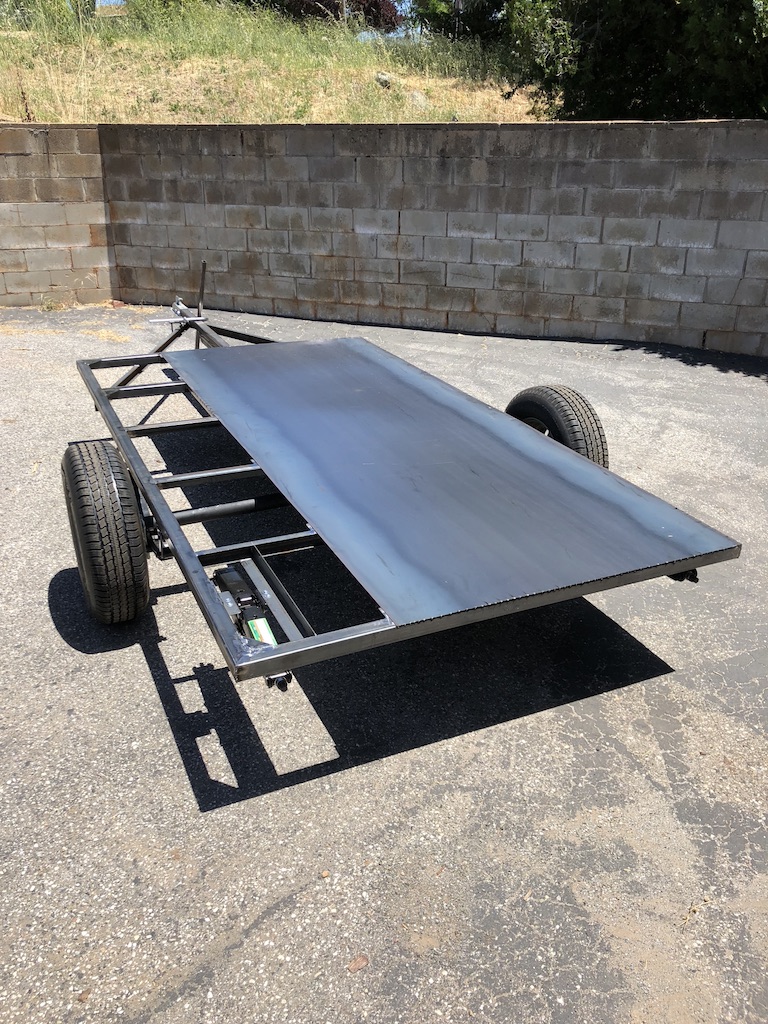
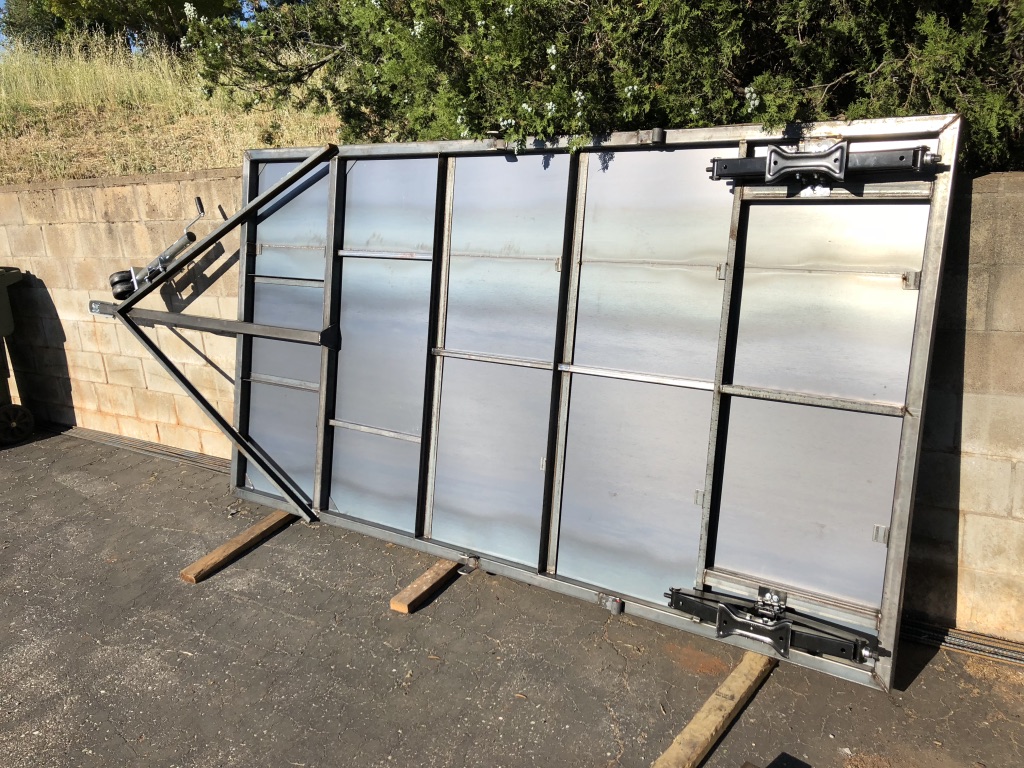
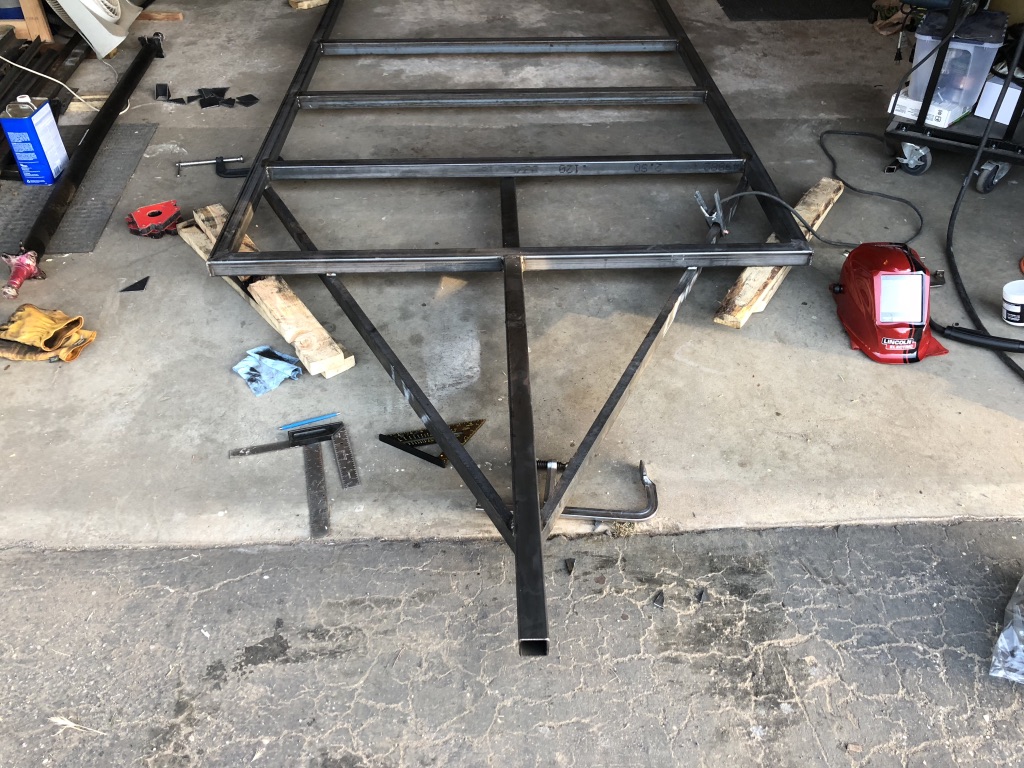
Adding some strength to the trailer frame.
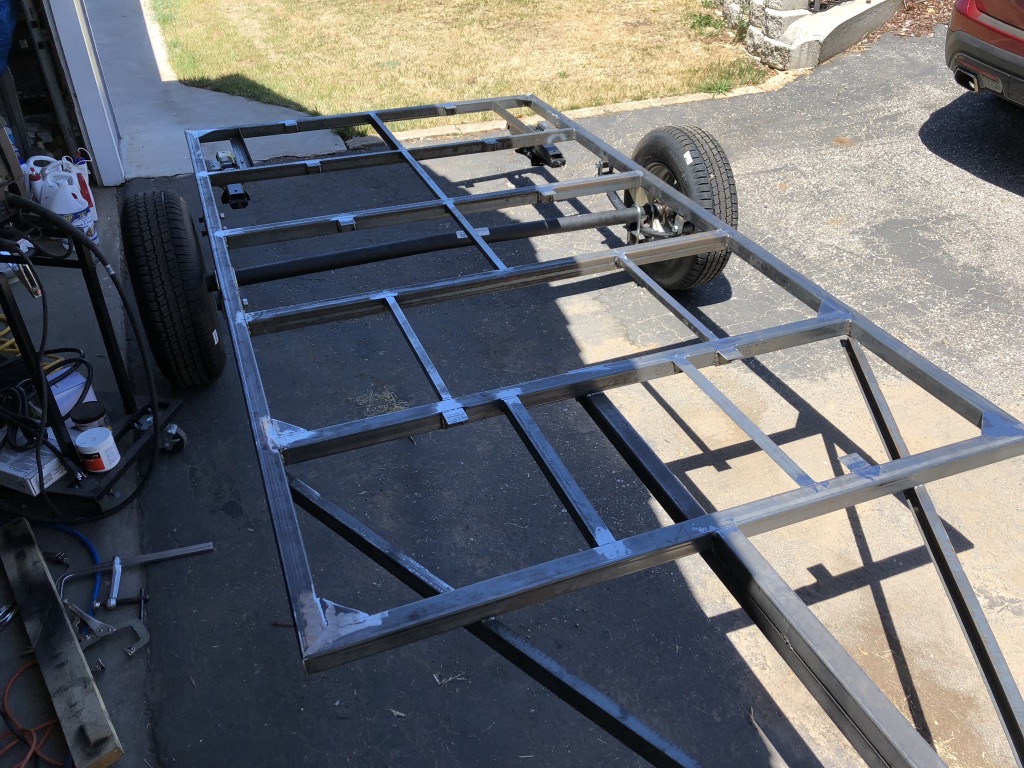
Several pieces of angle were cut to be welded on to the frame to allow the attachment of the deck and wood frame (for the cabin).
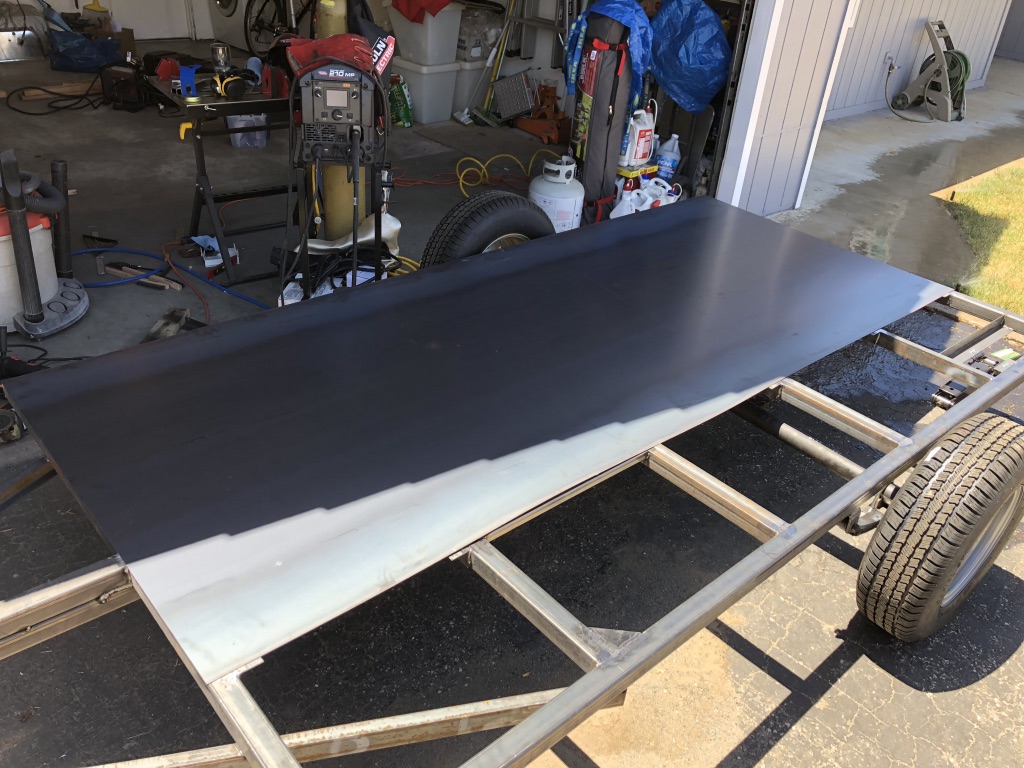
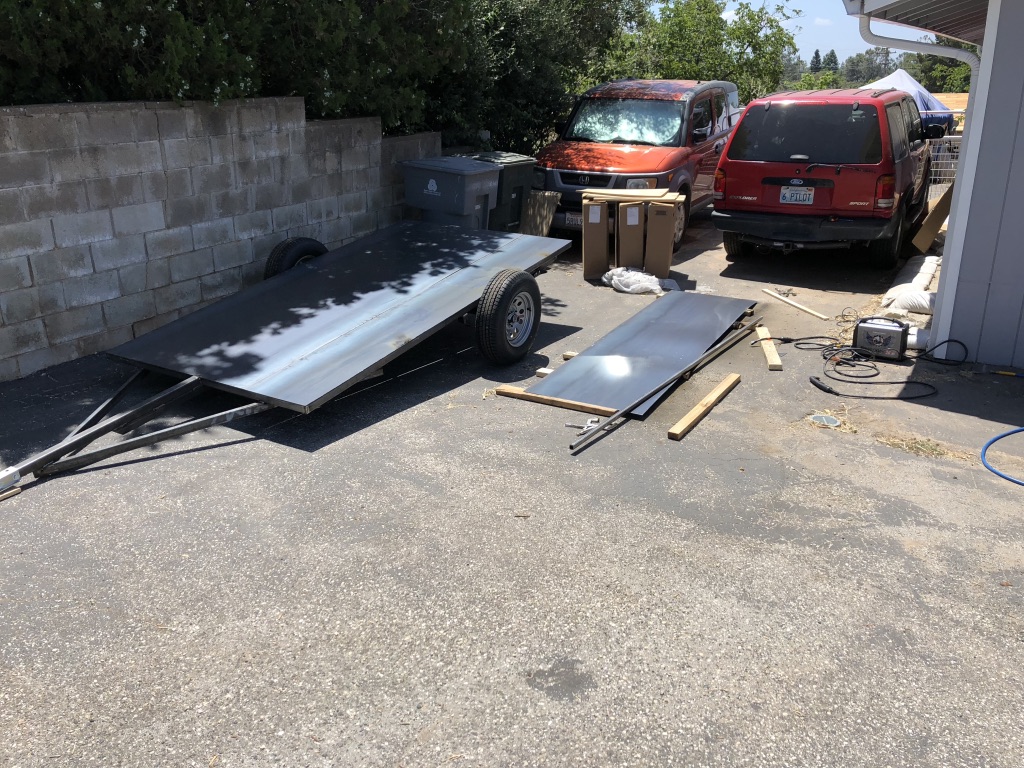
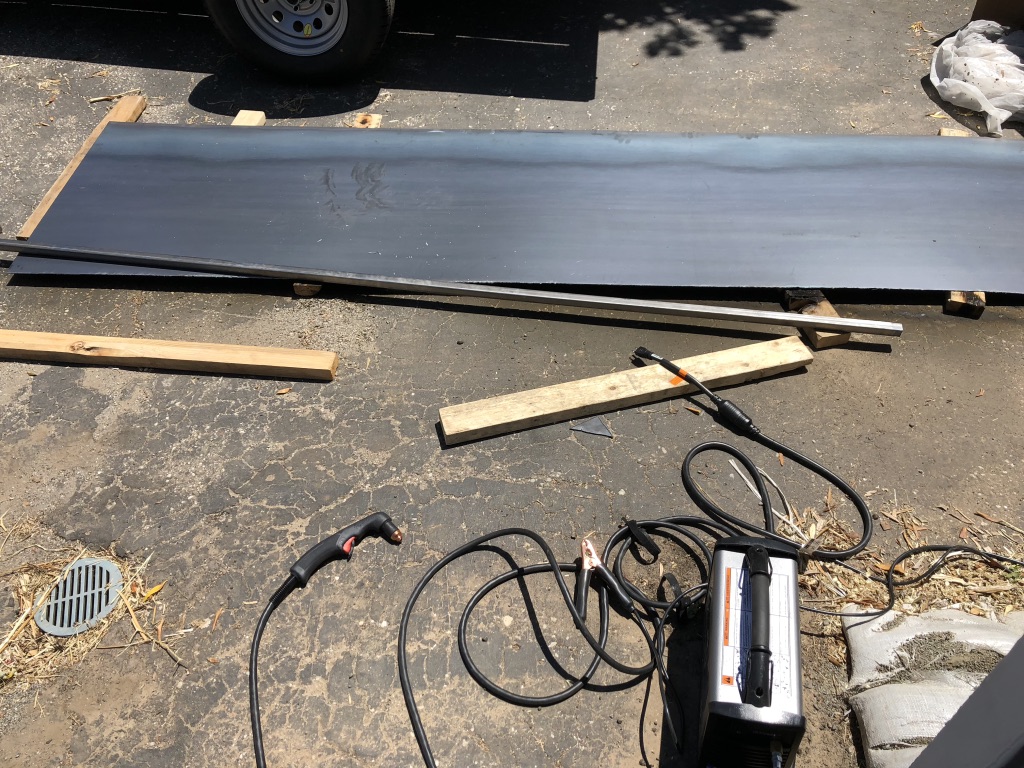
Rough fitting test of the first piece of 20awg steel sheet:
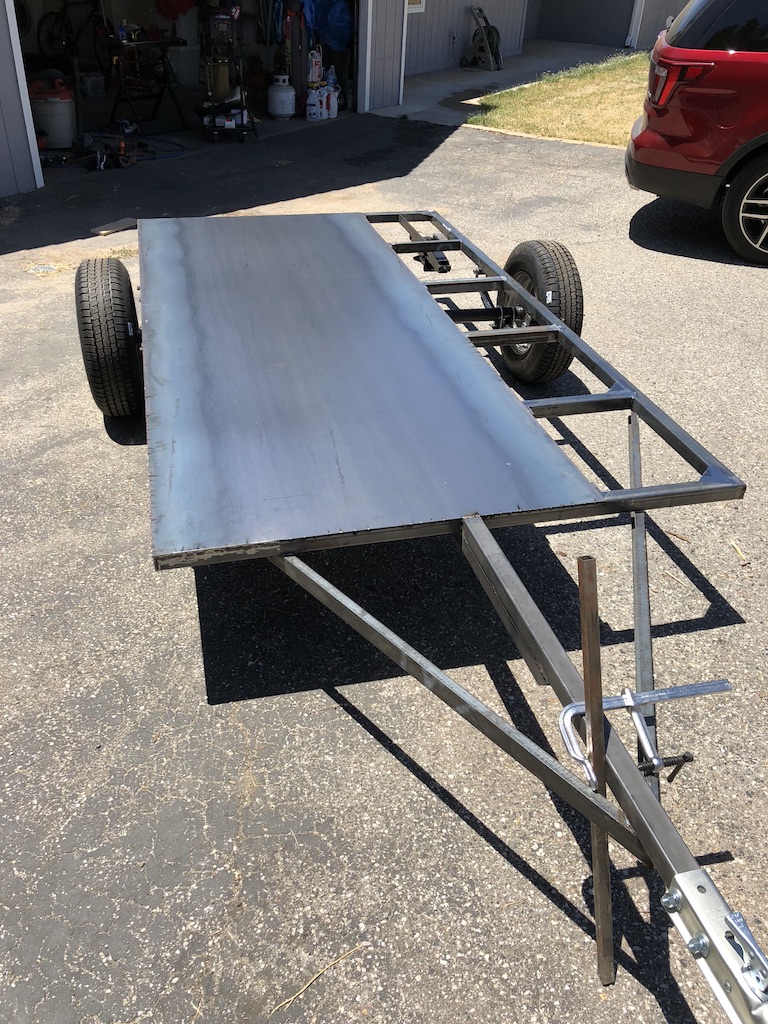
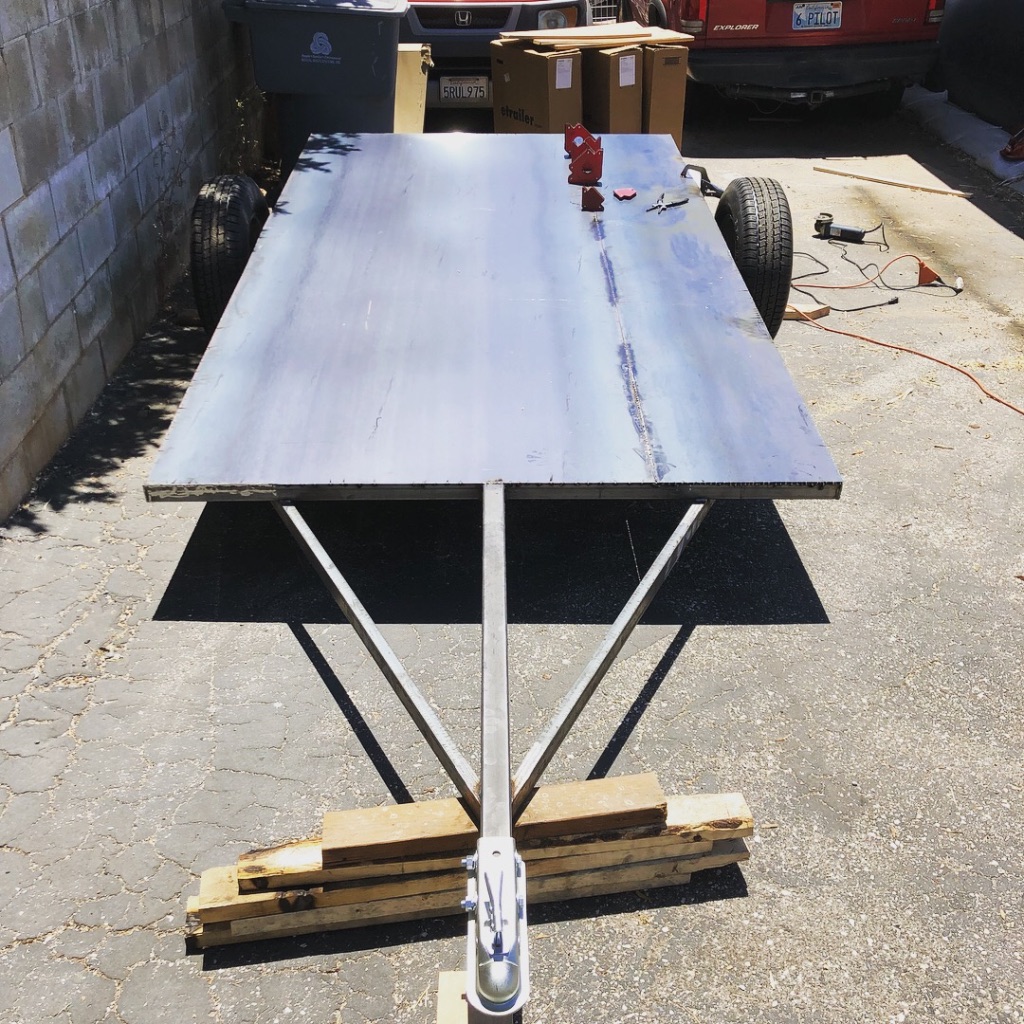
Tacked in place:
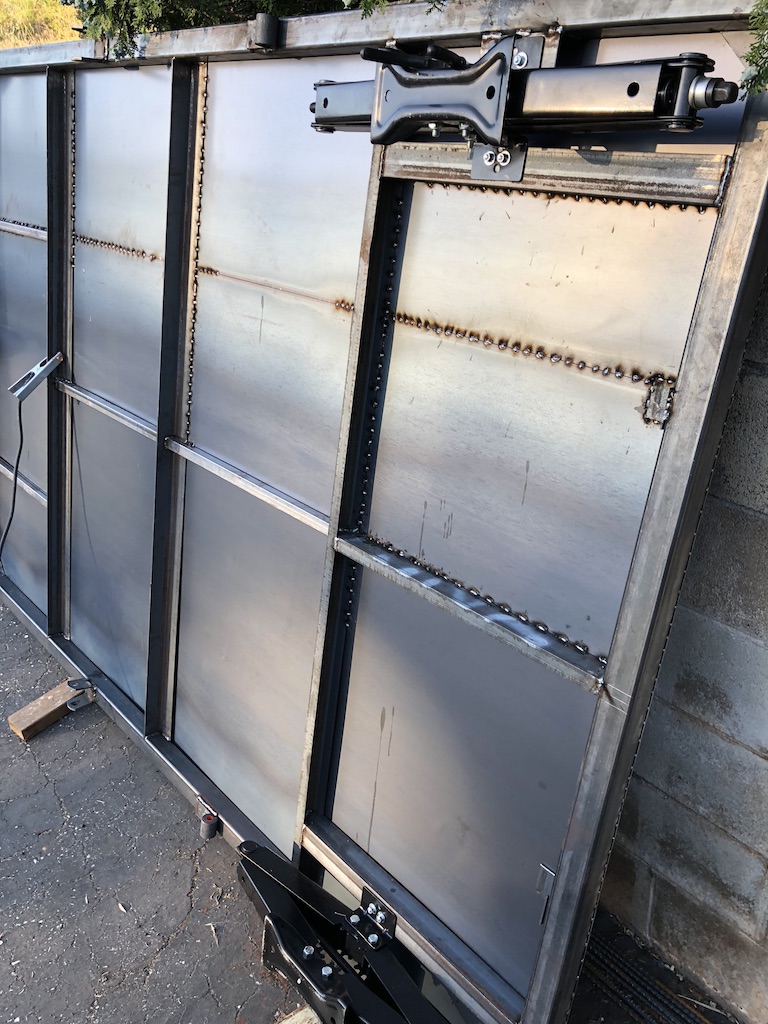
Several pieces of angle were cut to be welded on to the frame to allow the attachment of the deck and wood frame (for the cabin).
Rough fitting test of the first piece of 20awg steel sheet:
Tacked in place:
RV Trailer leveling jacks
2018/06/10 16:32 Filed in: RV Trailer | Welding
RV Trailer leveling jacksAdding leveling jacks to the RV trailer frame.
These are simple scissor jacks that were procured from Harbor Freight.
2.5t scissor jack: https://www.harborfreight.com/2-1-2-half-ton-trailer-stabilizer-jack-96406.html
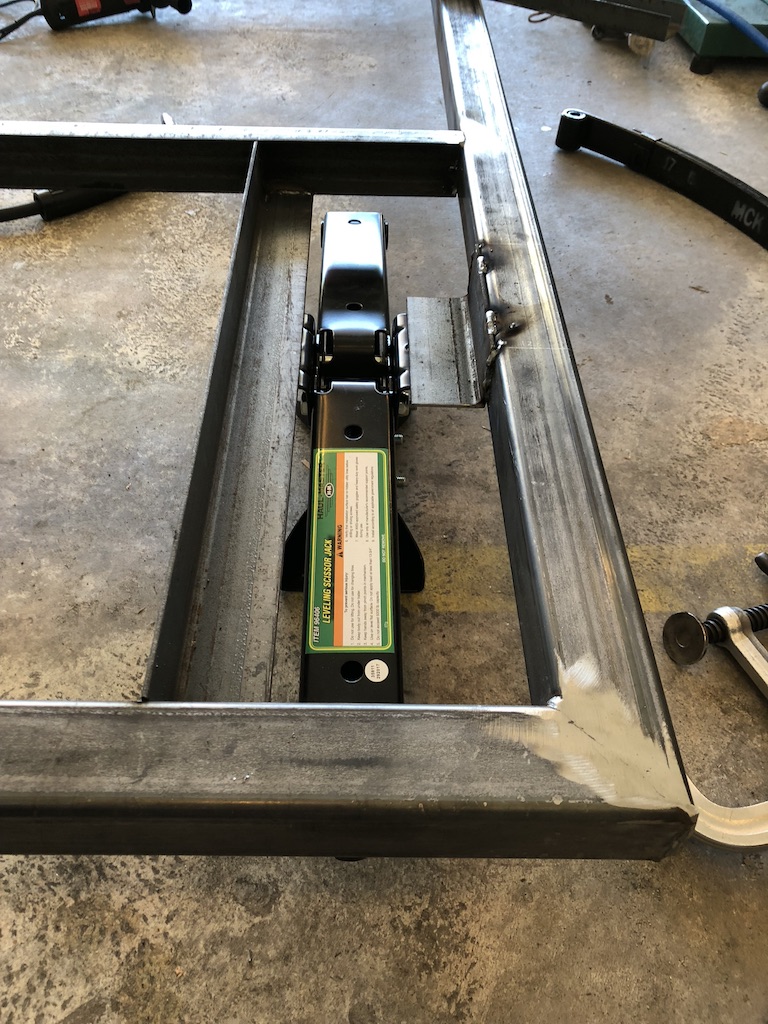
Using some 2″ angle, a suitable attachment was made for the jack.
One side complete. Now to make a bracket for the other side.
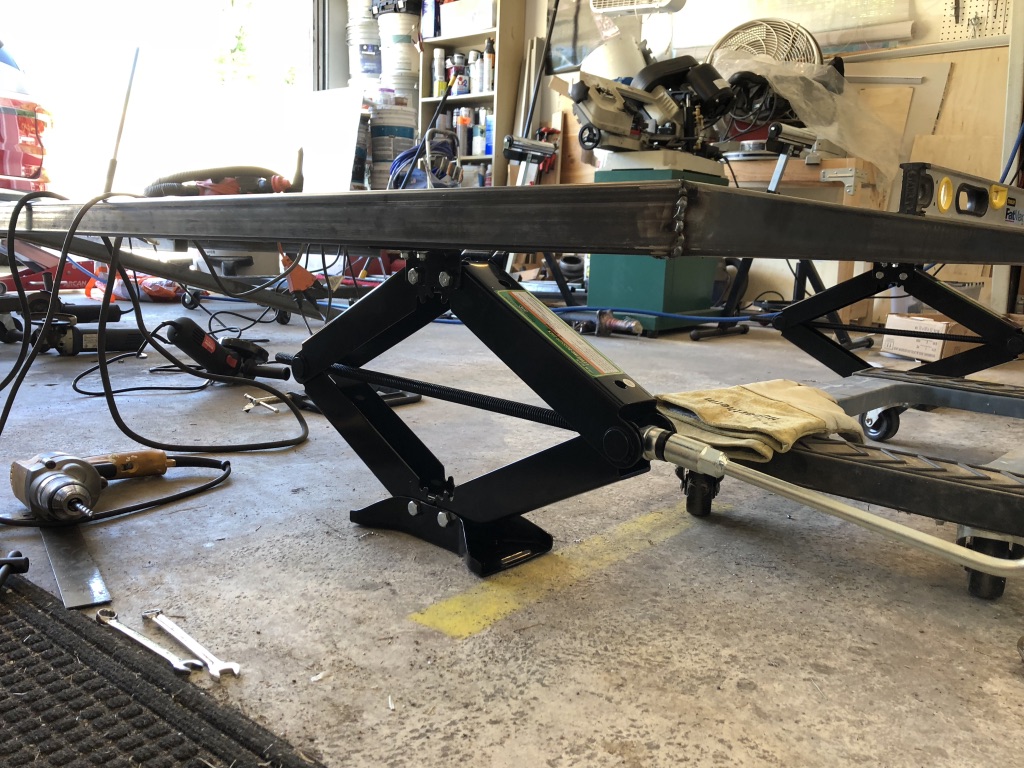
Testing out the jacks.
The jacks were attached to the frame using some bolts so that they can be replaced if needed. Since there was more welding to be completed on the frame, the jacks were used to lift and level the frame for the next bit of the construction.
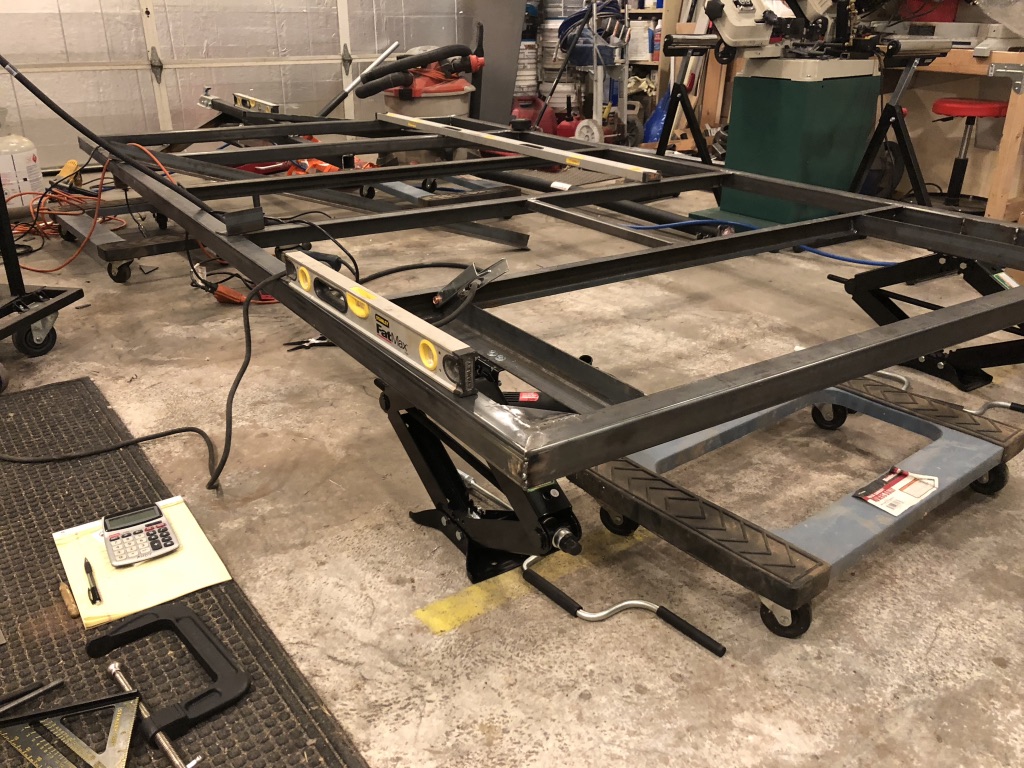
Leveling the whole frame for some more welding.
RV Trailer A-frame construction
2018/06/05 17:49 Filed in: RV Trailer | Welding
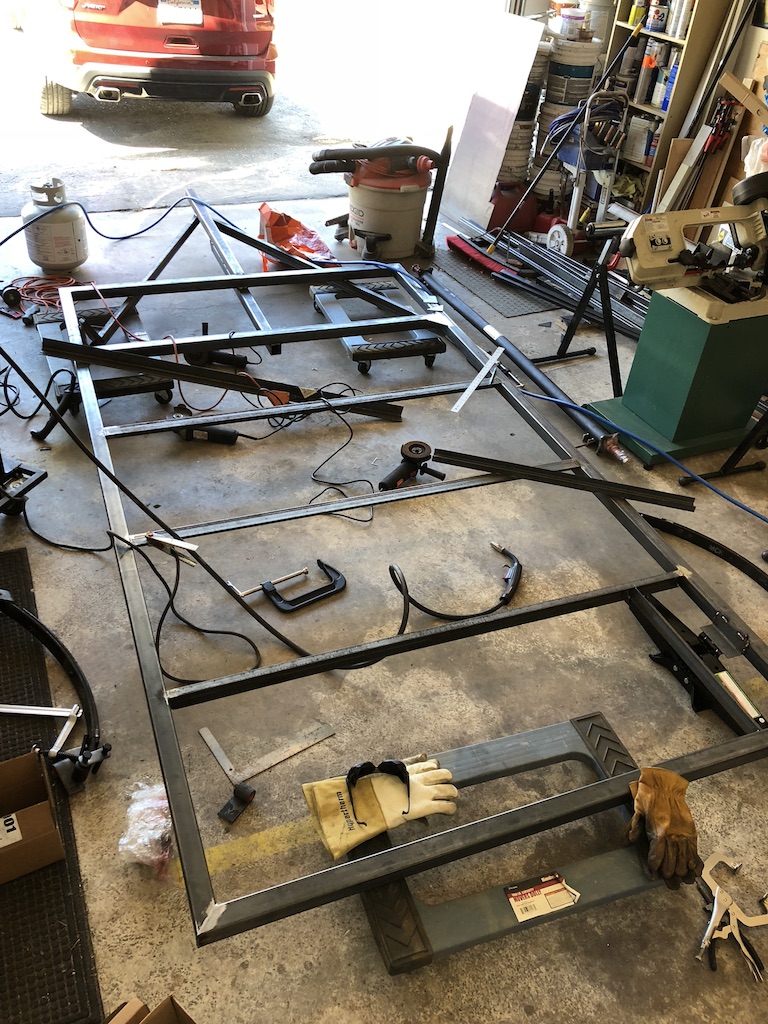
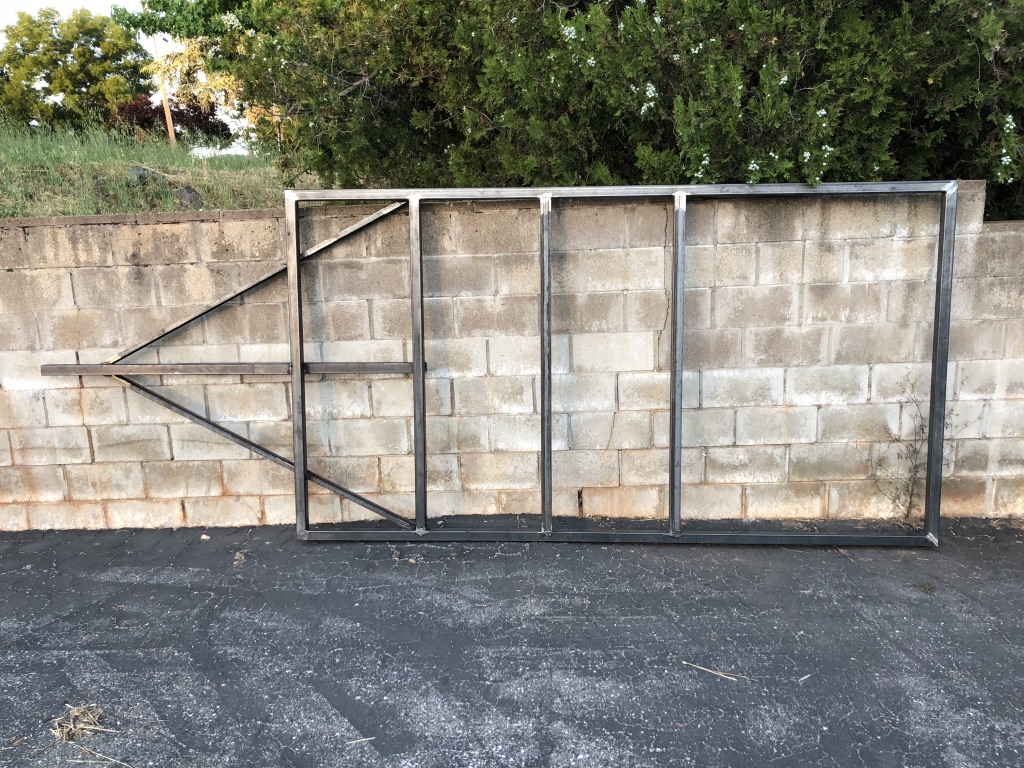
Some more cutting of the stock steel, and then some welding, and voila, an a-frame!
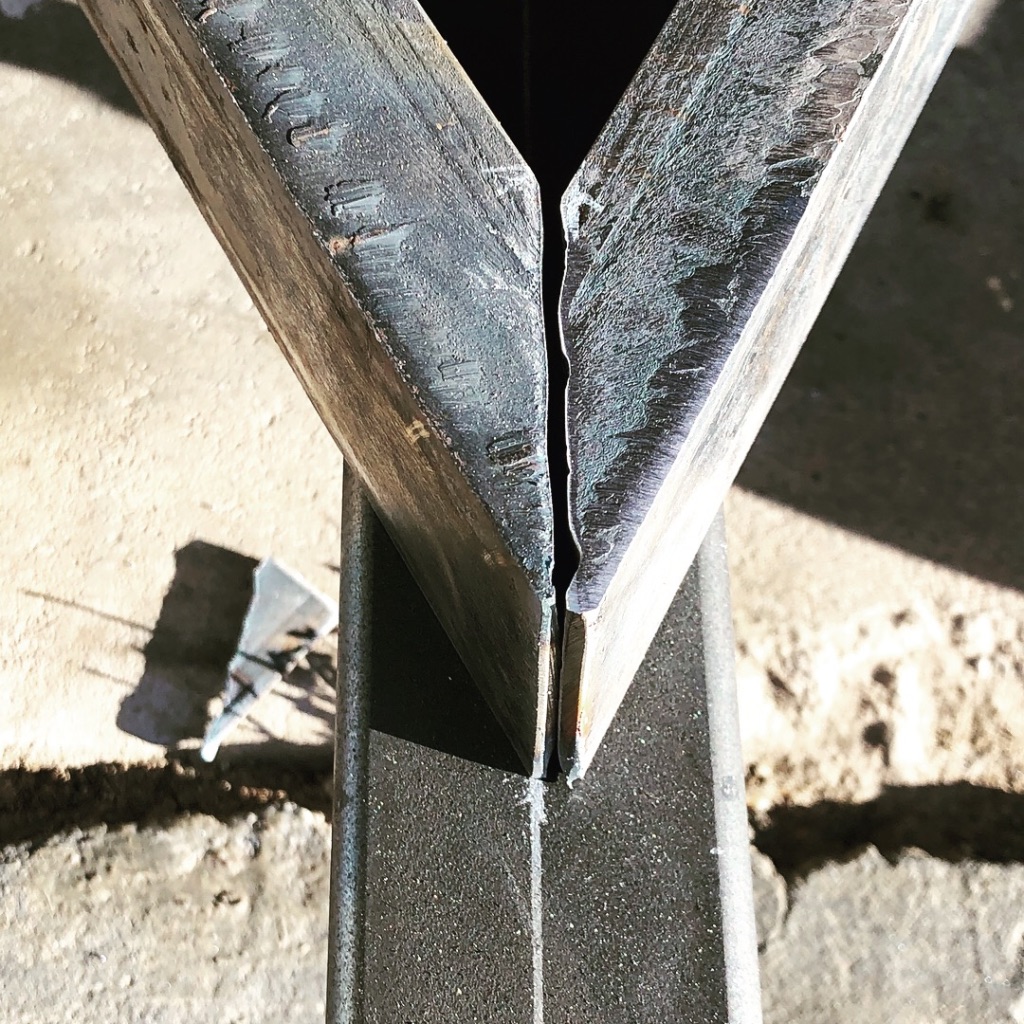
Cutting the stock to form the a-frame
With the c-channel in place, time to weld it together.
Flip the frame over and weld the other side.
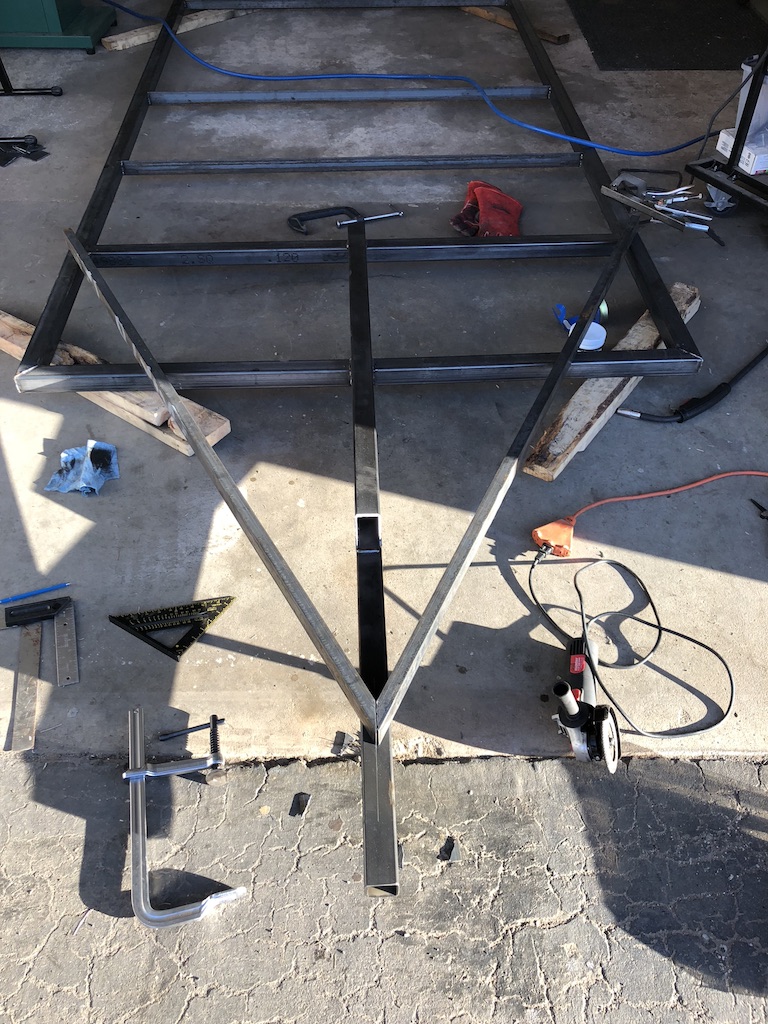
The trailer frame starting to take shape.
The a-frame welded in place
Receiver bolted on to the frame.
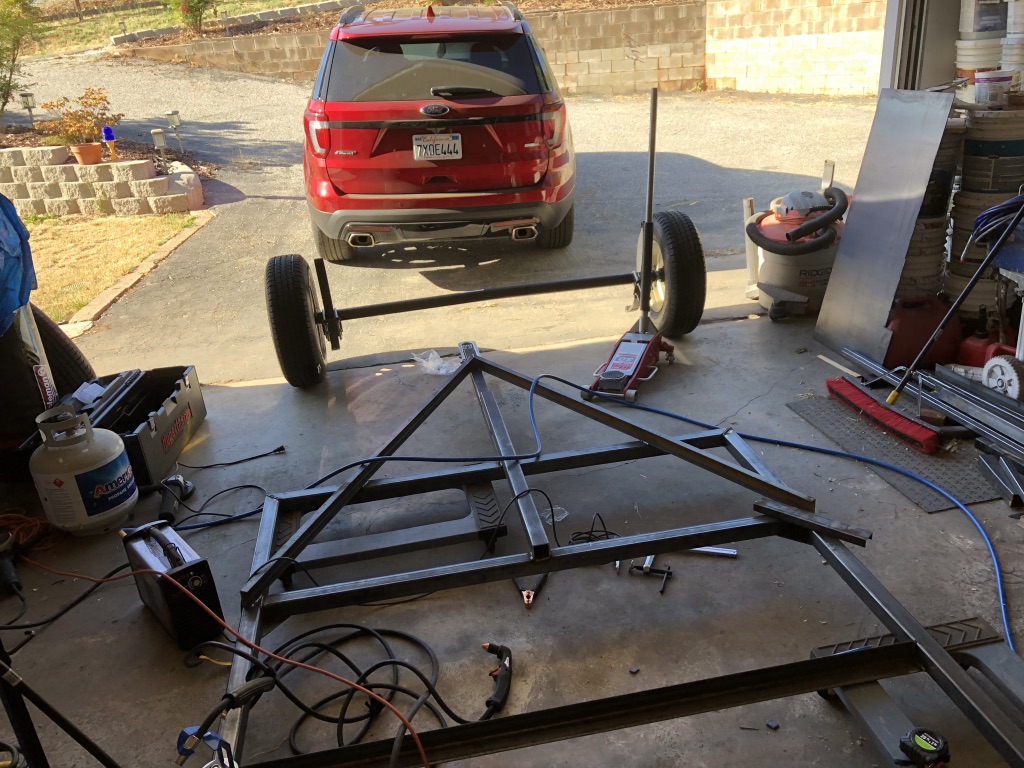
Getting ready for the addition of the axle and the wheels.
Cutting the stock to form the a-frame
With the c-channel in place, time to weld it together.
Flip the frame over and weld the other side.
The trailer frame starting to take shape.
The a-frame welded in place
Receiver bolted on to the frame.
Getting ready for the addition of the axle and the wheels.
The Upgrade

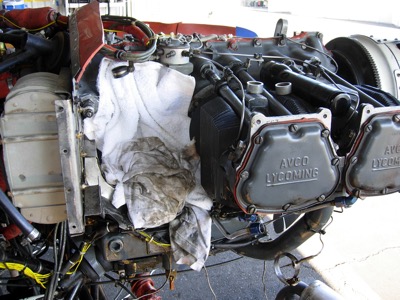
After the engine decided to voice it’s opinion that it needed another cylinder to be replaced, it was time to review my options.
I could replace the latest cylinder, which would then account for 4 out of the 6 cylinders being replaced. However, what would happen next? A trend seems to be forming.
I could replace the remaining 3 cylinders – in essence undertaking (another) top overhaul. Since I did a top-overhaul in late 2004, would this be worth it – trying to milk the engine for more use?
or
I could bite the bullet, and overhaul the engine.
I decided on the last option – time to overhaul the engine!
Well – since the propeller has to have its hub flushed, and possibly overhauled – humm, what about a 3-blader?
So – here goes:
- Engine Overhaul
- Propeller
- Interior….
#5 - it no bang-bang
The fun of the Six’s engine started shortly after returning from Oshkosh.
#5 cylinder was not getting producing a good compression test result. After removing the cylinder and sending it out for some work, it was returned overhauled. This was back in September of 2009. The initial flight after the installation of the cylinder was interesting. The run up tests were fine, all six cylinders were behaving normally according to the JPI EDM-700 engine monitor. So, off down the runway, got to take off speed, rotate, and I started to climb. Then #2 cylinder stopped firing (the EDM-700 showed it going cold) and the engine ran rough. Too late to land back on the runway, and the plane was climbing, so a downwind turn was made, and got ready to land back at the airport. Then #2 came alive, and the engine ran smooth.
For some confidence, I continued to fly the plane around the airport for the next 45 minutes – and during the whole time, all six cylinders were firing fine – all looked normal.
Then in early 2010, after chasing an oil leak and trying to determine why cylinder #2 was running rough at low RPM, I gave the keys and a credit card to the local FBO.
The problem was found – #2 and #3 needed to be replaced as well. Michael, the mechanic, did clearly state that swapping out these two cylinders are a gamble, and that there may be additional problems and that I should consider a new overhauled engine.
After coming up with a plan to change the oil at 25 hour intervals, and use an oil analysis service, the two additional cylinders were swapped.

June 2018
May 2018
April 2018
March 2018
February 2018
January 2018
December 2017
November 2017
October 2017
September 2017
August 2017
July 2017
June 2017
May 2017
April 2017
March 2017
February 2017
January 2017
December 2016
November 2016
October 2016
September 2016
August 2016
July 2016
June 2016
May 2016
April 2016
March 2016
February 2016
January 2016
December 2015
November 2015
October 2015
September 2015
August 2015
July 2015
June 2015
May 2015
April 2015
March 2015
February 2015
January 2015
December 2014
November 2014
October 2014
September 2014
August 2014
July 2014
June 2014
May 2014
April 2014
March 2014
February 2014
January 2014
December 2013
November 2013
October 2013
September 2013
August 2013
July 2013
June 2013
May 2013
April 2013
March 2013
February 2013
January 2013
December 2012
November 2012
October 2012
September 2012
August 2012
July 2012
June 2012
May 2012
April 2012
March 2012
February 2012
January 2012
December 2011
November 2011
October 2011
September 2011
August 2011
July 2011
June 2011
May 2011
April 2011
March 2011
February 2011
January 2011
December 2010
November 2010
October 2010
September 2010
August 2010
July 2010
June 2010
May 2010
April 2010
March 2010February 2010
January 2010
December 2009
November 2009
October 2009
September 2009